 | |||
| http://www.bluecricketdesign.net/2010/07/sock-wreath.html |
The lady in this post used a Dollar Store wreath and some (new) socks to create a fun wreath. I thought this would be a cut craft for Halloween – some cheap Halloween socks, the wreath form, a ribbon, and BOOM! a decorated front door for the first time ever. Unfortunately, my Dollar Store did not carry any wreath forms and the craft store forms were all too expensive for what was supposed to be <$10 project. I have seen several posts about using a pool noodle as a wreath form, but October is not the best month to find those. However, in another blog (cannot remember which one) I saw the suggestion to purchase piping insulation from the home improvement store. Score! I was able to pick up a 6' length for $1.23. The blog had stated that you could cut it in half for two 12” wreath, but I wanted a bigger wreath for the outdoors, so I cut off 4.75’ for an 18” wreath. Here’s a shot before I started embellishing. Beautiful, eh?

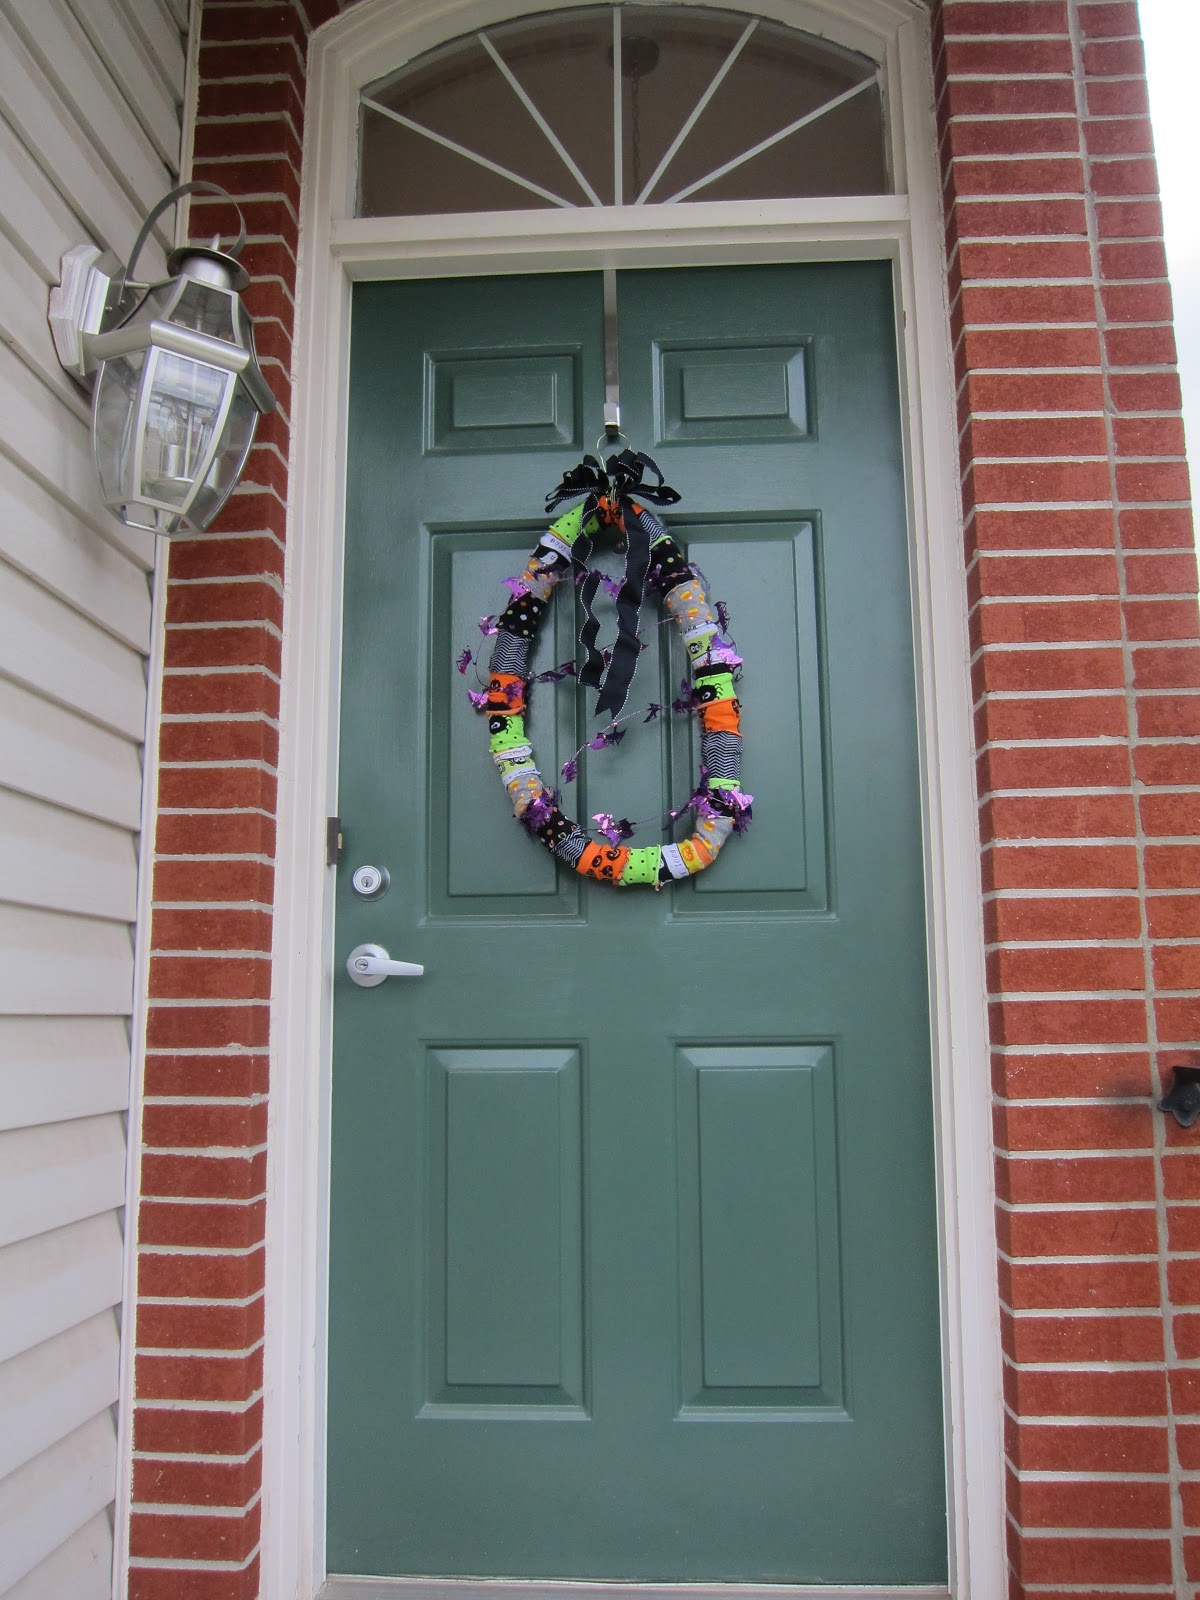
I was so excited for this wreath – it was looking so good. I should have just left it there. But I wanted a little more bling. First, I added shiny purple bat garland I had picked up at AC Moore – I thought it would be cute like the pennant banners I’ve seen strung across other wreaths, but it was just too stiff to line up properly. Then I didn’t have the right gauge wire to attach the bow so I used this thick green stuff. Still, I was decently ok with the wreath and hung it up on our door with (limited) pride - where it aged like an old lady (read: drooped). By the time Halloween came around, this is what my poor wreath looked like.
As a coda to this whole story, last night Michael was in charge of handing out candy as I was in the kitchen preparing dinner. After one set of trick-or-treaters, he came back to tell me the news - apparently one of the moms complimented the wreath - go figure!
I’m planning on submitting this craft fail to Pinstrosity – y’all should check that blog out! Sort of like CraftFail but gentler and with better language . . .
ETA: Yes! I made it on to Pinstrosity! Check out my fail here.
No comments:
Post a Comment